Icons for Old Versions of Xcode
It has become that time of the year again when there are multiple versions of Xcode living on my development machines.
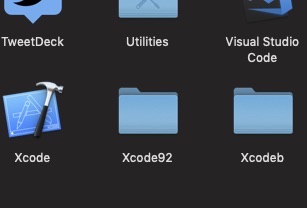
To help me keep from opening the wrong version for a given project, I use a modified Xcode icon for the older versions. This post is about how I make the icon and how I install it. At the bottom is a link to the modified icon file.
By making a distinctive color difference between the current Xcode and an older version I have a much better chance of noticing that I’m using the wrong version for a given project before I go making changes or saving files and ruining everything. This is a similar idea to how Apple always puts the little “beta” red stripe on the beta versions of Xcode.
As with some other magic files on a Mac, the .icns files are actually a bundle of things. The single .icns file contains a rendering of the icon at each resolution that the app uses in different contexts. For instance, the small icon in some finder views is a totally different graphic from the large icon in the dock.
Finding The .icns File
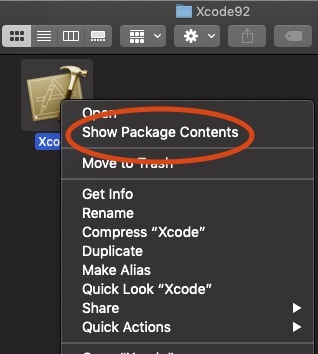
An applicaton icon in the Applications directory of a Mac is actually another instance of a bundle. This time the bundle is a regular directory. The default behavior when clicking on any icon is to launch the app. However, we can use the context menu to open the directory instead. Depending on how your Mac is configured it’s a two-finger-single-tap, or a right-click, or a ctrl-click on the icon to display the context menu. Once you’ve got the menu displayed, select the “Show Package Contents” option to open the directory.
You should now be looking at a folder titled Contents. From here open that folder and find the folder titled Resources. Open the Resources folder and look for an Xcode.icns file. Unlike on an iOS device where any change to the bundle will render the app unusable, you can make changes to lots of the different files inside the app package without breaking the app. When you update the app with a new version, files can get overwritten. So, just something to be mindful of if you go making lots of changes in the package, save copies of your changes somewhere outside of the package.
Modifying the .icns File
For my purpose of identifying the older versions of Xcode on my machine I am simply going to apply a sepia tone to each version of the image in the .icns file. I make a copy of the Xcode.icns file first as the file iteslf is “locked” when it is in the package. I can do everything I need just using Apple’s Preview app, but there are other icon editors on the Mac App Store. As far as I am aware, the old Icon Composer application that Apple used to provide in the developer tools is no longer supported.
Once the Xcode.icns file is open in Preview we should see the icon image and a series of thumbnails on the left side.
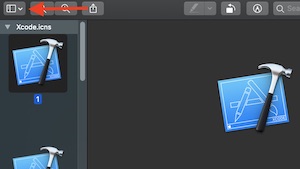
I’ve added a red arrow to the thumbnail button (in the screenshot) if you’re not sure how to make the thumbnails display and aren’t seeing them. For this example, I’m just going to change the color. However you can use any of the markup tools in Preview. In the past, I’ve added text to display the version number and other changes. Just remember: each thumbnail is a specific size and resolution so any changes you make should not change the overall size of the image or else your icon won’t render correctly.
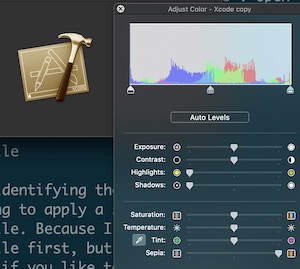
Now we simplay make our color change (or any change you like) to each of the versions of the icon. With the first version selected choose “Adjust Color” from the “Tools” menu.
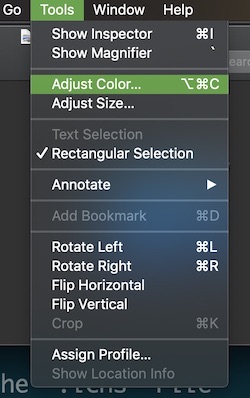
Find the slider for “Sepia” and move it all the way to the right. As you do this, you should see the icon image turning a nice, antique sepia color.
Using the thumbnails on the left, click on each version of the icon and apply the Sepia filter (or whatever change you’ve decided on) and save the file.
Now replace the original Xcode.icns file with your modified file and you should be good. You may have to restart Xcode a time or two and if you have a shortcut in your dock, you may have to remove it and re-add it.
TLDR The .icns File
Here is a link to the sepia, Xcode .icns file from our Bitbucket repo if you want to use it. Replace the one in Xcode->Contents->Resources.
